Cut-out animation in Blender – Lesson 1
This is a first lesson of our upcoming video training course – “Cut-out animation in Blender”. In the full course you will learn how to
This is a first lesson of our upcoming video training course – “Cut-out animation in Blender”. In the full course you will learn how to
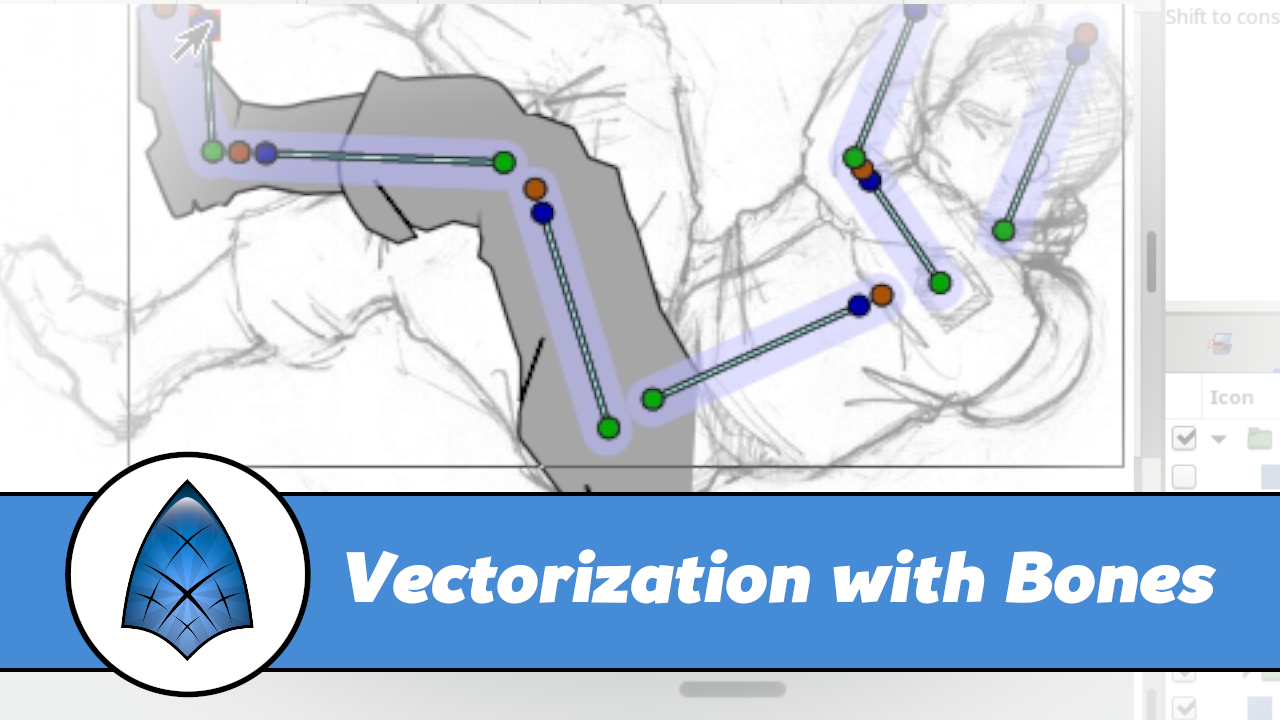
Some people ask us – how to use the features illustrated in our Stickman tutorials with the latest version of Synfig? The thing is that
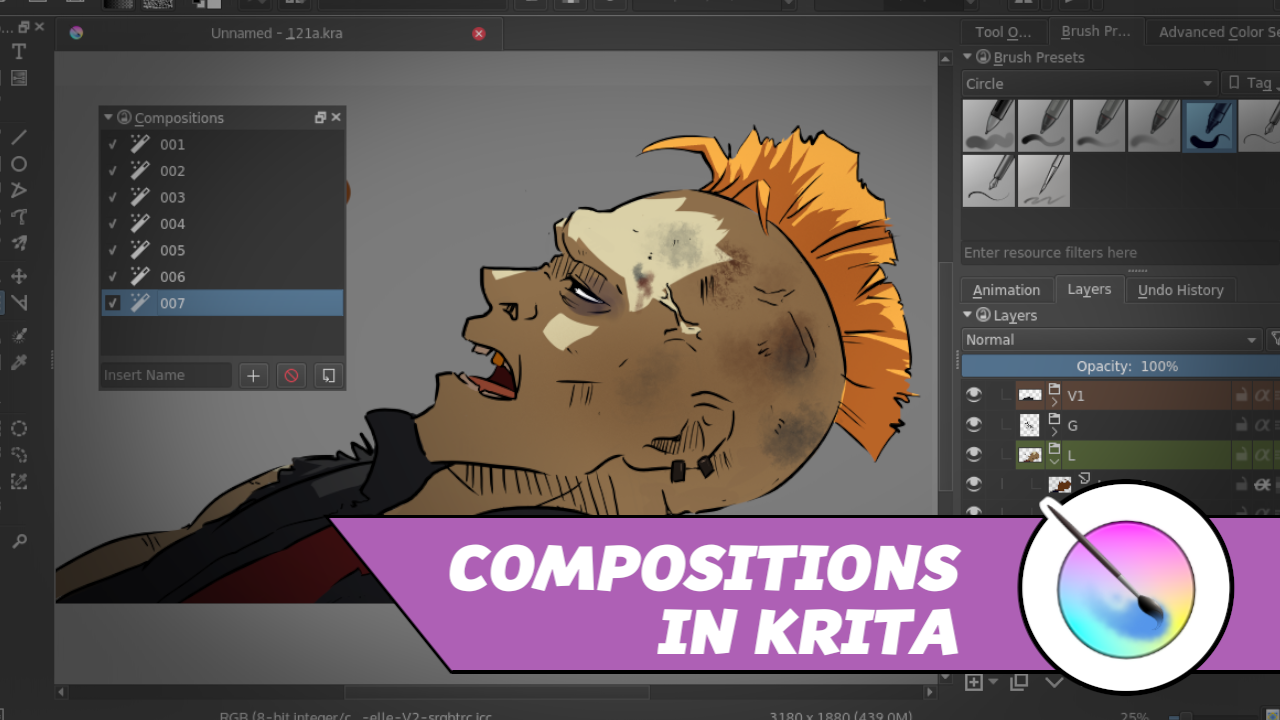
This shows how to use Compositions feature to test how well your artwork is prepared for animation. In this example I will be testing various
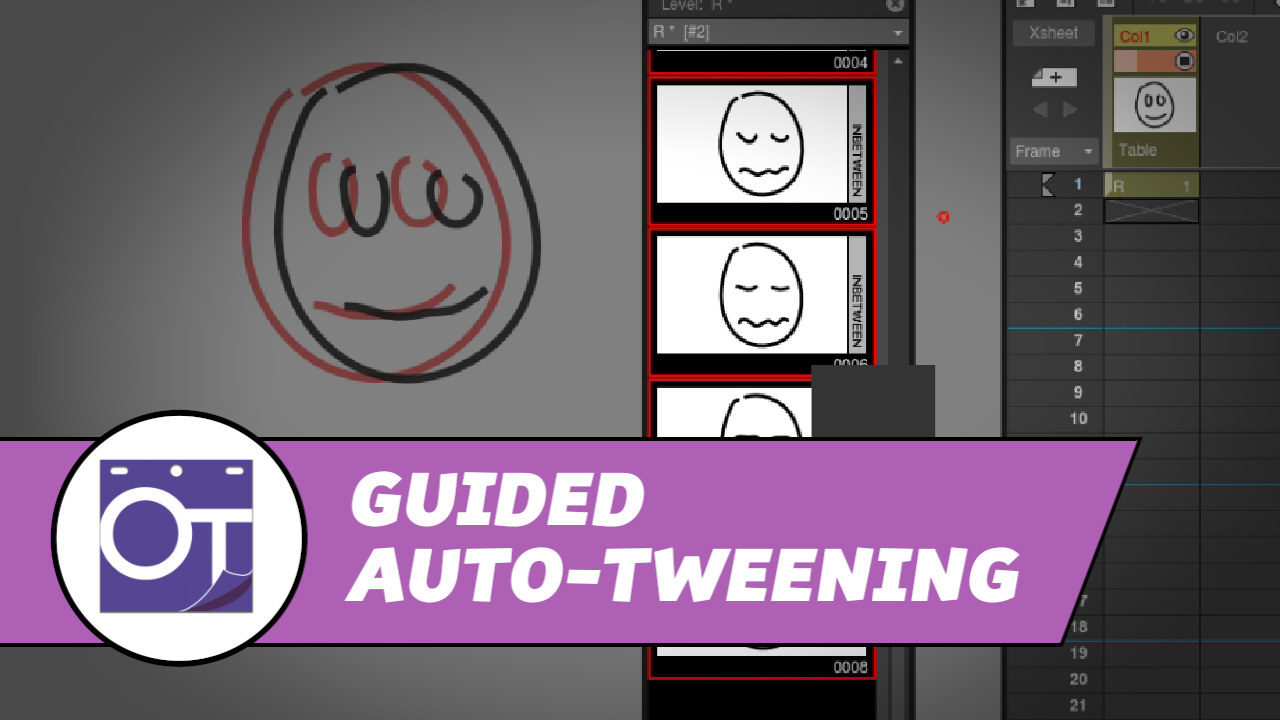
This tutorial shows a technique of creating automatic tweening in OpenToonz. To successfully use the auto-tweening of vector drawings, the strokes have to be in

This quick tutorial shows how to create automatic animation in OpenToonz using stroke-by-stroke method. In short: make sure that you have a sequence of vector
New users of OpenToonz often ask – how to add a sequence of empty frames? This is a sort of operation that is tricky to
So, you want to dig into sources of Pepper & Carrot Motion Comic but don’t know where to start? Here is a quick manual for you!
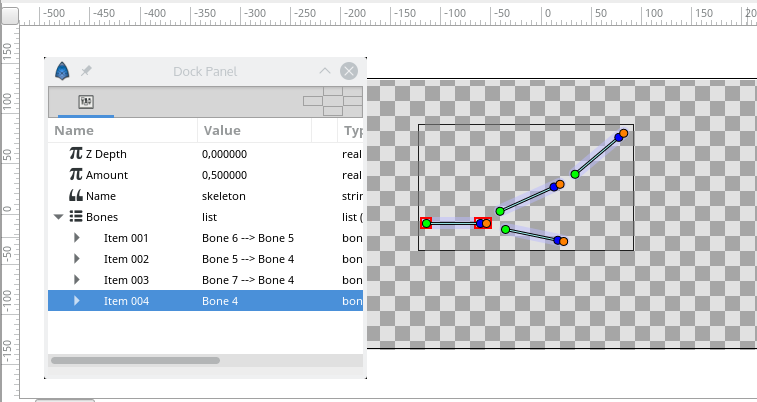
Before deleting any bone, you have to detach all its child bones. Otherwise Synfig will crash (this is a known issue see #375). Here is
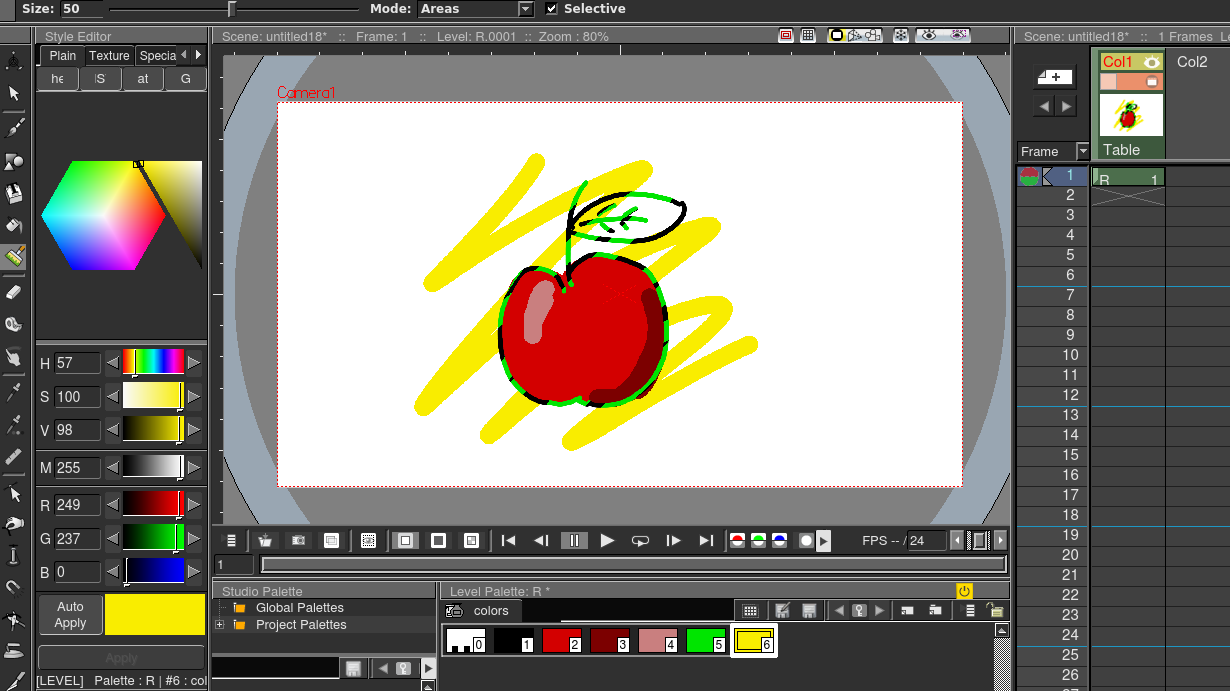
What is “Toonz Raster Level” and how it is differs from regular “Raster Level”? Well, it is hard to describe the benefits in one sentence.

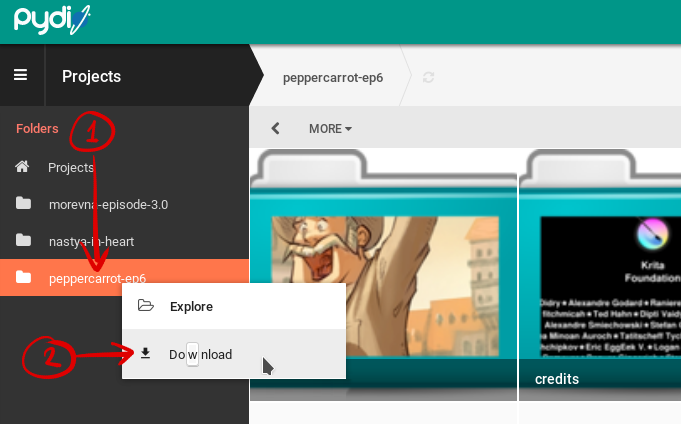
Here you will find instructions on how to work with sources of Morevna Episode 3. Downloading sources 1. Web interface You can browse source files
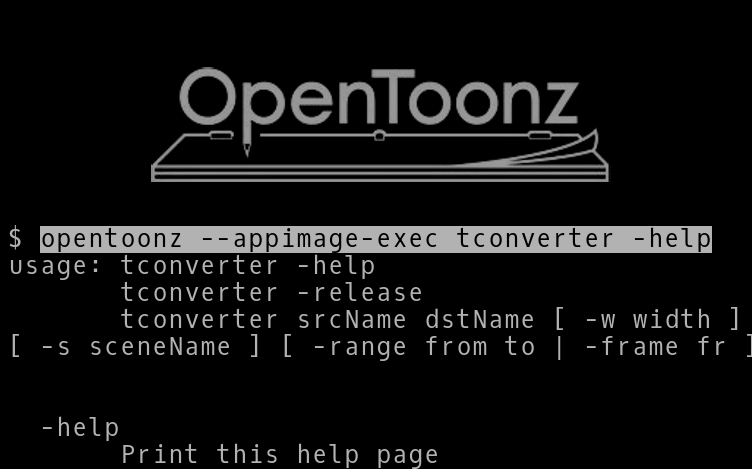
Did you know that OpenToonz have CLI tools? CLI stands for “command-line interface” and it might happen to be a big help to automate your
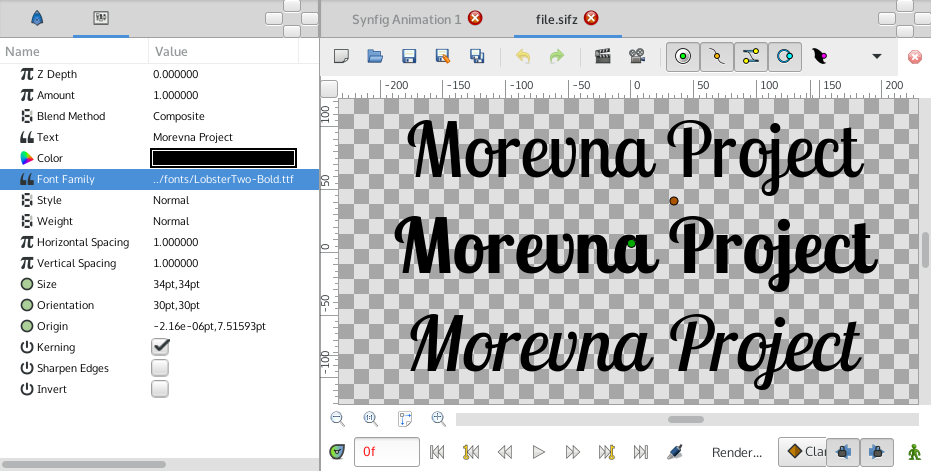
If you have used Text Layer in Synfig at least once, then you probably noticed that it seems to completely ignore any values of the