Software
To work with the sources of «Pepper & Carrot Episode 6» you will need following software installed:
- Blender 2.78.
- Krita 3.1.x or newer.
- If you want to edit lipsync PGO files, then you will need Papagayo-NG.
Also, you will need CoaTools plugin for Blender. Please make sure to install exactly this version, otherwise things will not work as expected — https://github.com/ndee85/coa_tools/archive/ad5cab39a12a19f52fb2c09e0c80ec681177569b.zip
Downloading sources
You can browse source files using web interface. This is preferred way if you want to get individual files.

If you wish to get all source files, then it is best to download using Rsync utility. The reason for this is that our web server is not be able to handle large downloads properly, while with Rsync you are 100% safe and can even resume download if connection gets broken.
Download URL for Rsync:
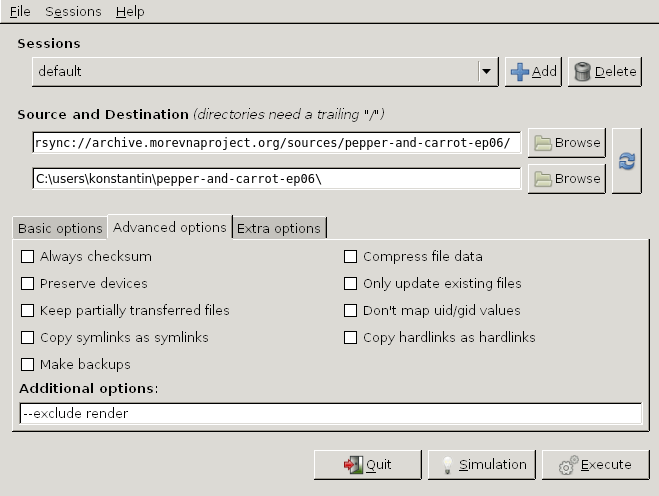
rsync://archive.morevnaproject.org/sources/pepper-and-carrot-ep06/
On Linux you can use the following command to get the sources (assuming that you have «~/pepper-and-carrot-ep06/» directory created):
rsync -avz --exclude render rsync://archive.morevnaproject.org/sources/pepper-and-carrot-ep06/ ~/pepper-and-carrot-ep06/
Windows users can get sources using GRsync utility:
Editing the scene
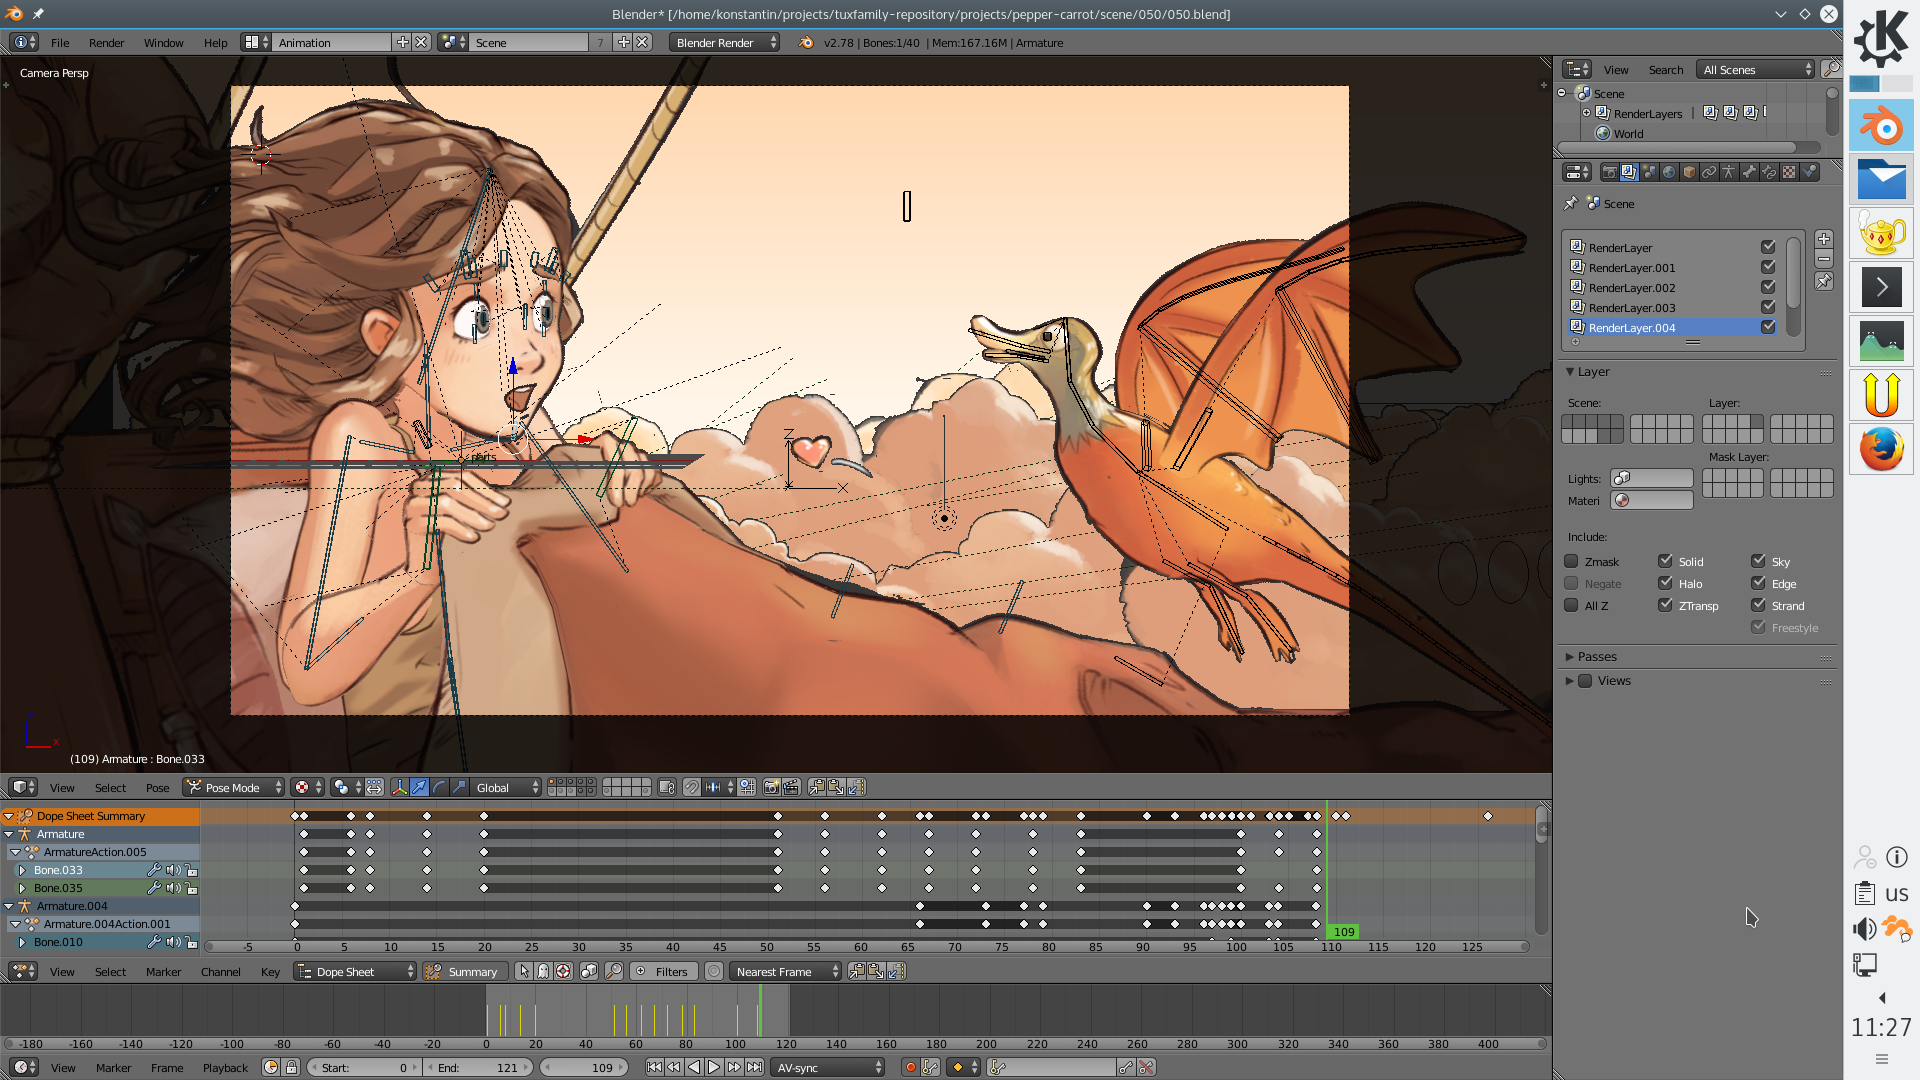
After archive gets downloaded and unpacked, you can navigate to «scene» subdirectory. All scenes of the project are arranged in corresponding subdirectories with numbers. Here you can do any edits you want.
When editing some scenes you might encounter an issue: moving a bone leaves some objects of character’s rig to remain in place. This is because those objects use simulation and this simulation is baked. So, before editing those parts you have to free bake. Just select the problematic object, in the «Properties» panel navigate to «Physics» tab and click «Free all Bakes» button. After that hover your mouse onto object, hit «G» button on keyboard, move your mouse a bit in any direction and click right mouse button. This (rather cryptic) sequence of actions will clear the bake and make object editable.
When you finish with editing the scene it is recommended to bake simulations again before you send scene to rendering.
Editing the video sequence
Okay, after you edited the scene, you probably want to see how it fits into the whole movie (of course, unless you want to construct your own editing sequence). So, let’s get to the video sequence. Go to the root directory of the project and look for Blender files there.
You will notice there are four Blender files:
- project-v9-en.blend
- project-v9-ru.blend
- project-v10-en.blend
- project-v10-ru.blend
The files marked as «v9» contains full video sequence with unmixed audio footage — all audio files are separated with their original volume levels. So it is easy to manipulate them and track their origins (which is especially important for sound FX that require proper attribution).
The files marked as «v10» contain the same video sequence, but each sound track mixed into single file with all volume levels set and additional audio processing applied (reverb, compressors, etc.). This is what we use for final mix.
And, as you might guess, files marked as «en» and «ru» represent English and Russian versions respectively.
Let’s try to open «project-v9-en.blend».
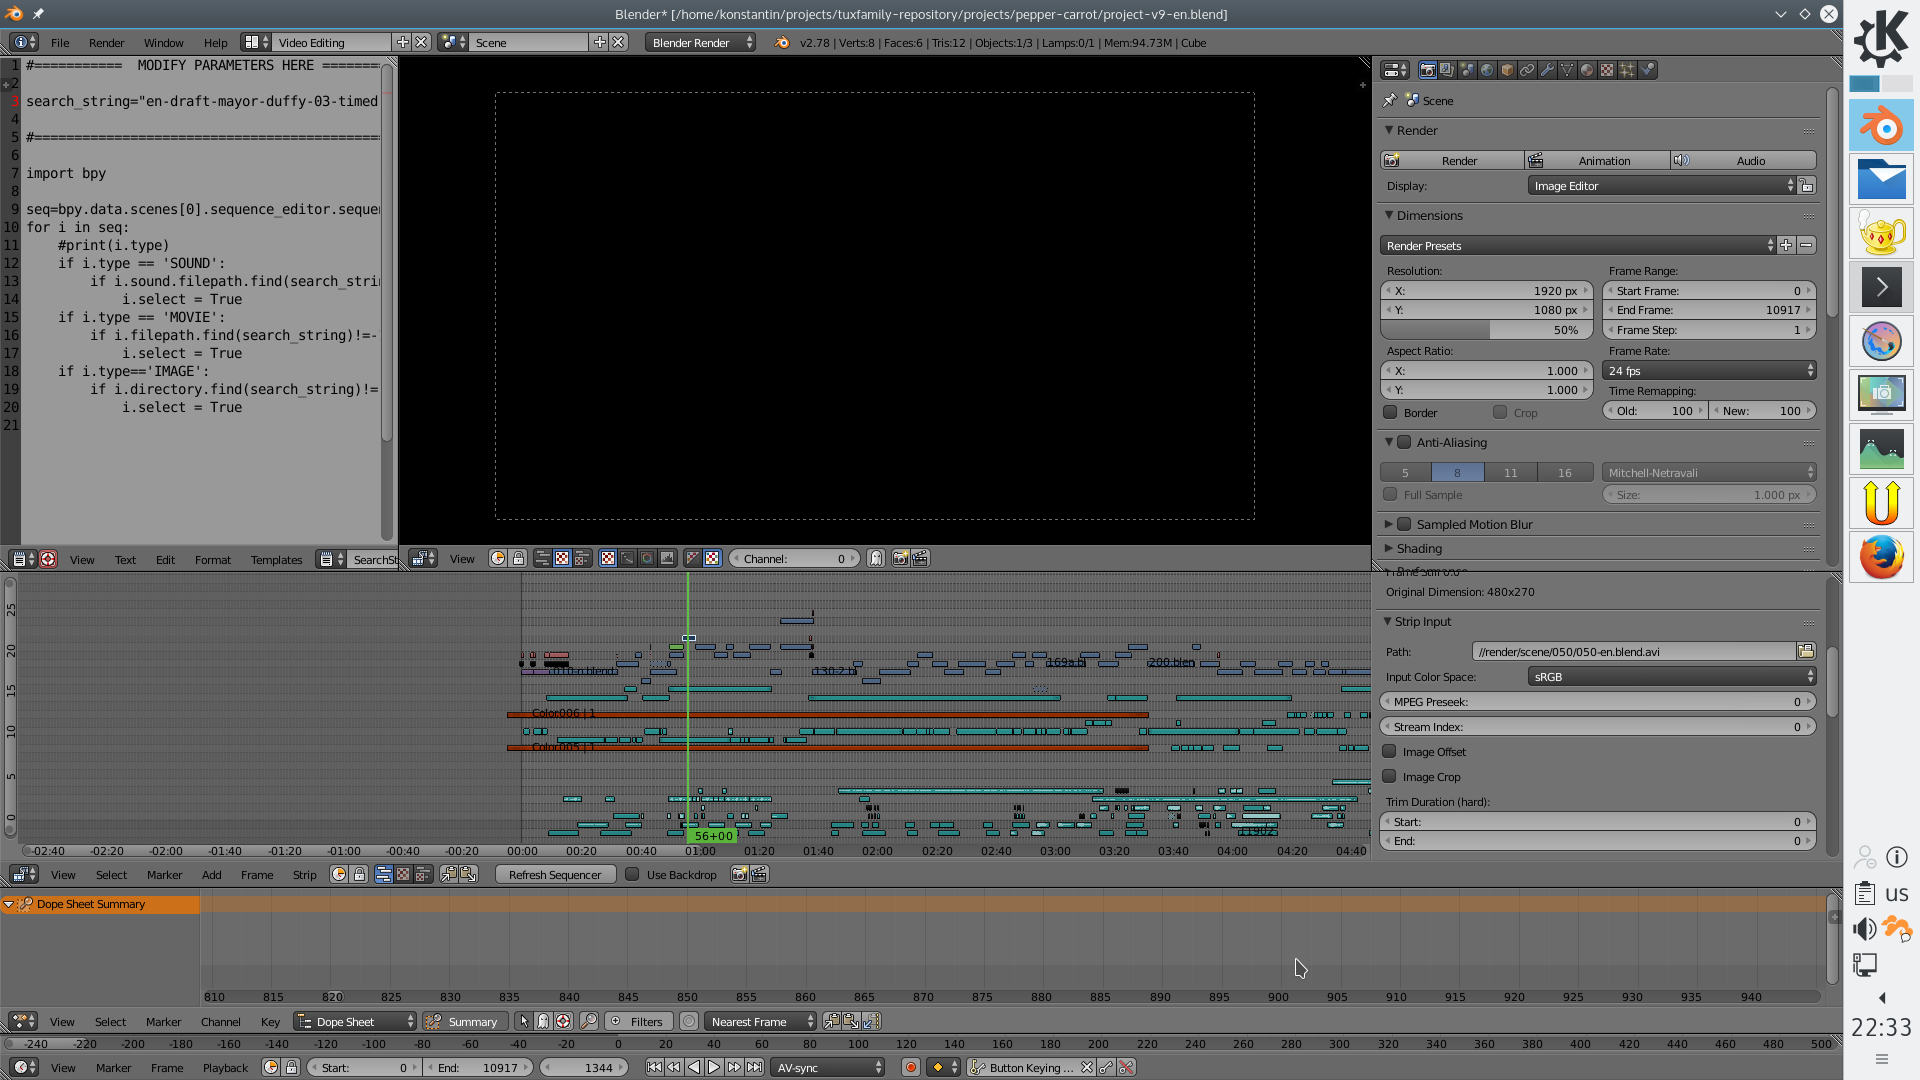
You will notice that it is not possible to see the sequences — they are all displayed black (in the top part of the window). This is because there are no rendering data included into sources.
So, to make some scene to appear in the sequence you have to render it.
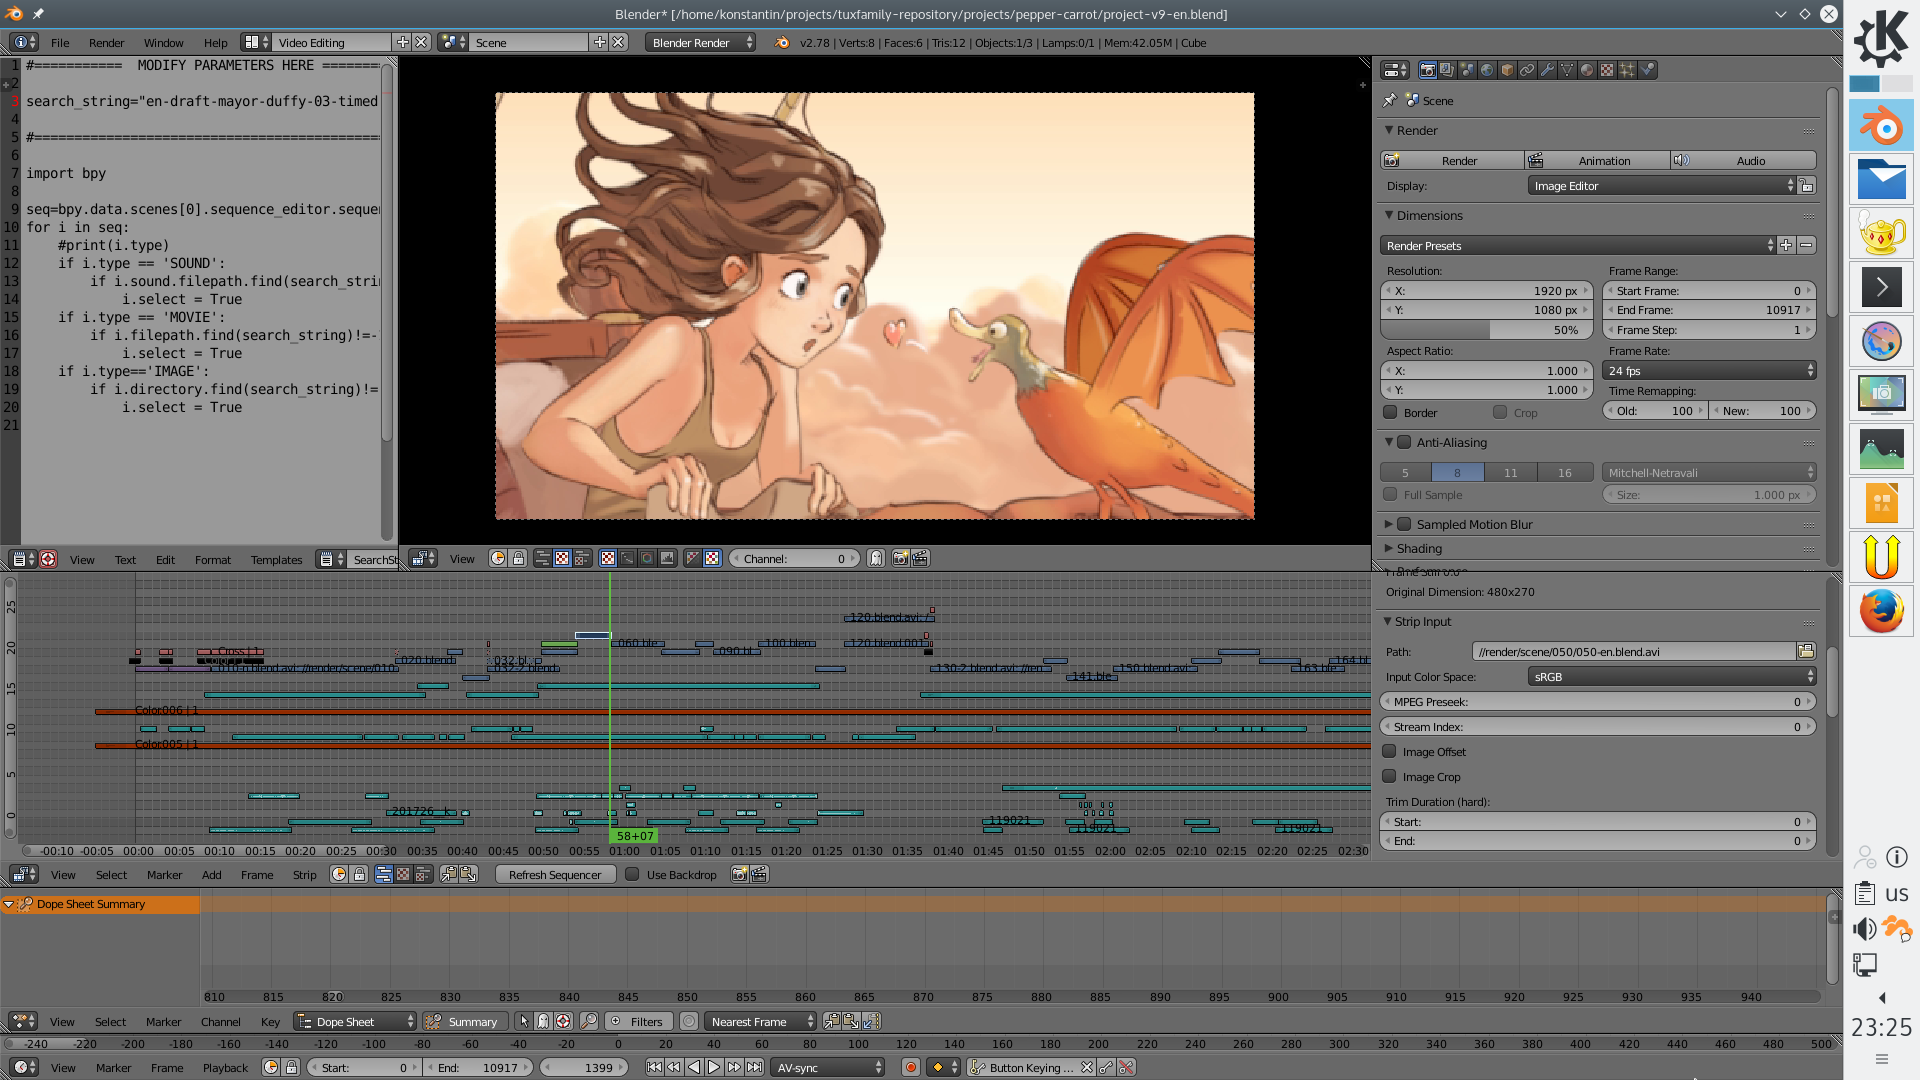
Let’s select some strip and take a look at its properties on the right panel.
See the «Path» property? If you drop «//render/» at the beginning and «.avi» extension at the end, then you will get path to the source file of the strip — «scene/050/050-en.blend».
So, all you need to do is to open «scene/050/050-en.blend» and render it to «render/scene/050/050-en.blend.avi» in the project directory. After that you can reopen sequence file and see the strip now have content.
Sounds complicated, eh?
Of course it is. This is why we use a special tool that handles this routine for us.
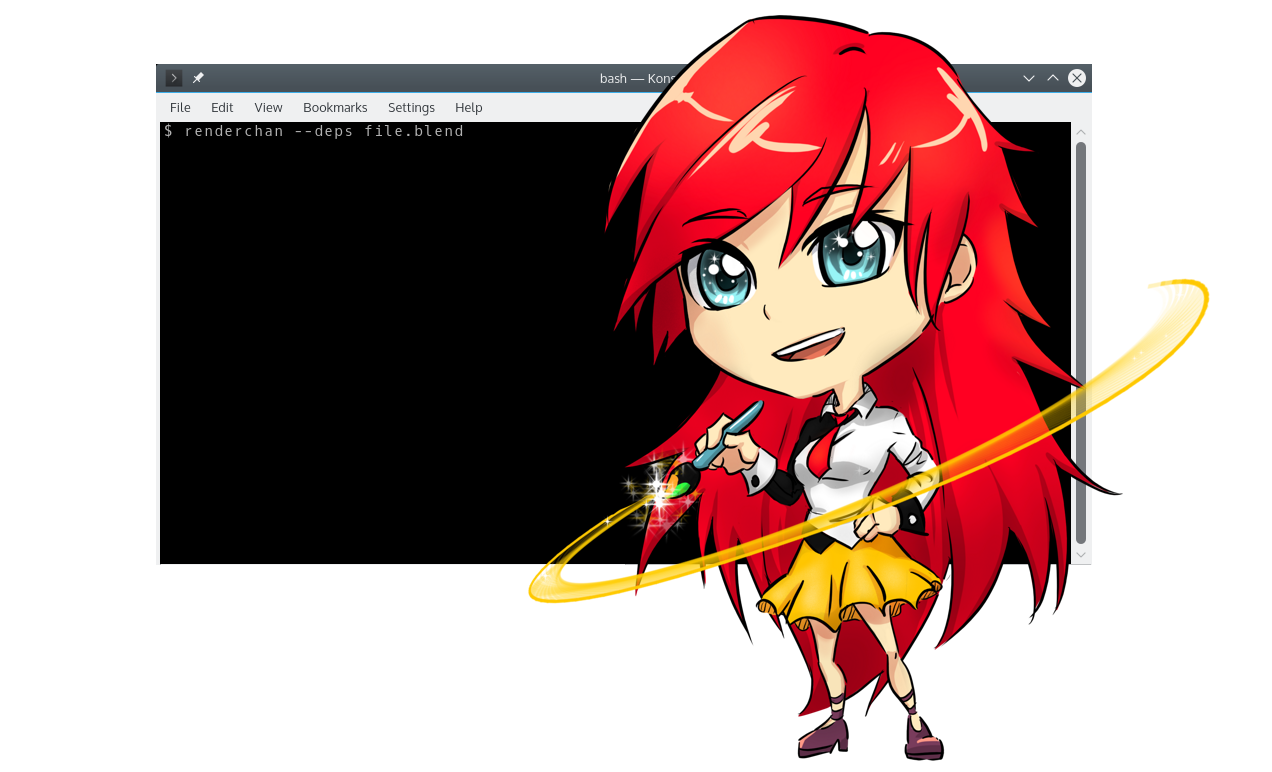
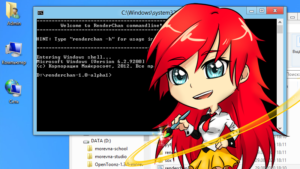
It is called RenderChan.
If you have RenderChan installed, then you can automate rendering routines as we do at our studio.
Just open console window and type:
renderchan ~/peppercarrot-ep06/scene/050/050-en.blend
This command will automatically render «~/peppercarrot-ep06/scene/050/050-en.blend» file to «~/peppercarrot-ep06/render/scene/050/050-en.blend.avi» — exactly into place where the rendered file is expected.
But we actually want to render all files, that referenced from editing sequence file (project-v9-en.blend). We can d this with the following command:
renderchan --deps ~/peppercarrot-ep06/project-v9-en.blend
As you might guess, rendering 70+ files will take some time. So, after a few hours you will get all strips in video editing sequence filled with content.
And that’s not all. Let’s suppose you have edited some scenes after that. Instead of remembering their names and calling render operation for each of them one-by-one, you canjust call rendering of required files for project-v9-en.blend again:
renderchan --deps ~/peppercarrot-ep06/project-v9-en.blend
RenderChan knows that you already have all scenes rendered. So it will render only those scenes that were changes since last rendering (or those scenes that were affected by your changes — yeah, it takes into account the full dependency tree!, so you can be sure that your rendering is always up to date!).
Rendering the final work
Okay, moving further. If you wish to dump (render) your video sequence into final video, just invoke the same command without «—deps» option:
renderchan ~/peppercarrot-ep06/project-v9-en.blend
This command will do exactly the same work as before — will update all renderings for all referenced source files — but in addition it will render the file itself. The result you will find in «~/peppercarrot-ep06/render/project-v9-en.blend.avi».
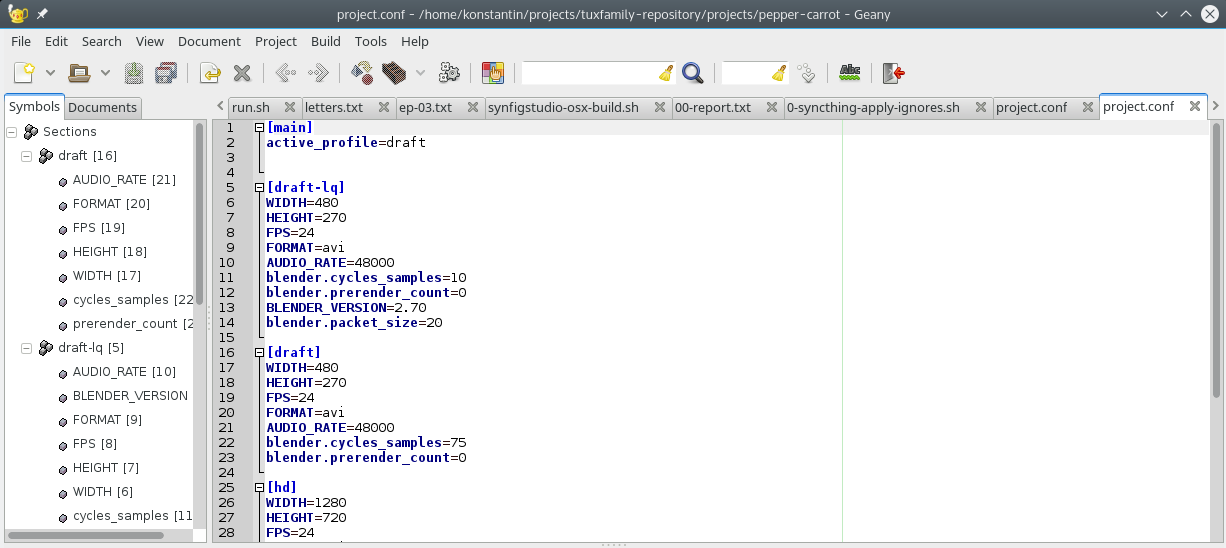
And one last thing to know. By default the rendering will use low resolution output — 480×270. Working with this draft resolution allows to save time when doing multiple re-renderings (this is an often case for intensive work).
But for the final output you can use «—profile» option to choose different resolution profile:
renderchan --profile hd ~/peppercarrot-ep06/project-v9-en.blend
For the full list of profiles and their options check «~/peppercarrot-ep06/project.conf» file.
That’s all! I hope this article will help you to reuse the sources of Pepper & Carrot motion comic. If you have any doubts, questions or got an awesome remix to share — feel free to drop a comment below!




10 ответов
Thank you…
After a LOOONG patient wait I succeded 2 times to download the sources in peppercarrot-ep6.zip, but they would not unpack (besides a file size of under 940 MB seems to be way too small even in zipped form).
Could you please check the zip file ?
Ugh, yes 940 Mb is too small… The total size should be around 5Gb. It seems our servers are too weak to handle that amount of requests. Please give me some time so I can figure out how to resolve this.
Until then you can try to download individual directories from «scene» folder. My apologies for inconvenience.
Hello Sternenwolf! I have configured Rsync service at our server. Now it is possible to fetch sources with the following command:
`rsync -avz —exclude render rsync://sources.morevnaproject.org/data/peppercarrot-ep6/ ~/peppercarrot-ep6/`
(This is example for Linux, assuming you have rsync installed and «peppercarrot-ep6» folder created in your home directory).
Thanx a lot ! Worked like a charm.
ugh i cant download it 🙁 it keeps partially downloading.. and downloading individual files are failing. I have to download the super small files, but even the small files are giving downloading failed issues. please fix so i cna download this wonderfull project 🙂