
Lesson 13: Converters
This lesson explains the concept of Converters and how they help you to create automatic animation. We will practice by creating animation of flying bee.
This lesson explains the concept of Converters and how they help you to create automatic animation. We will practice by creating animation of flying bee.
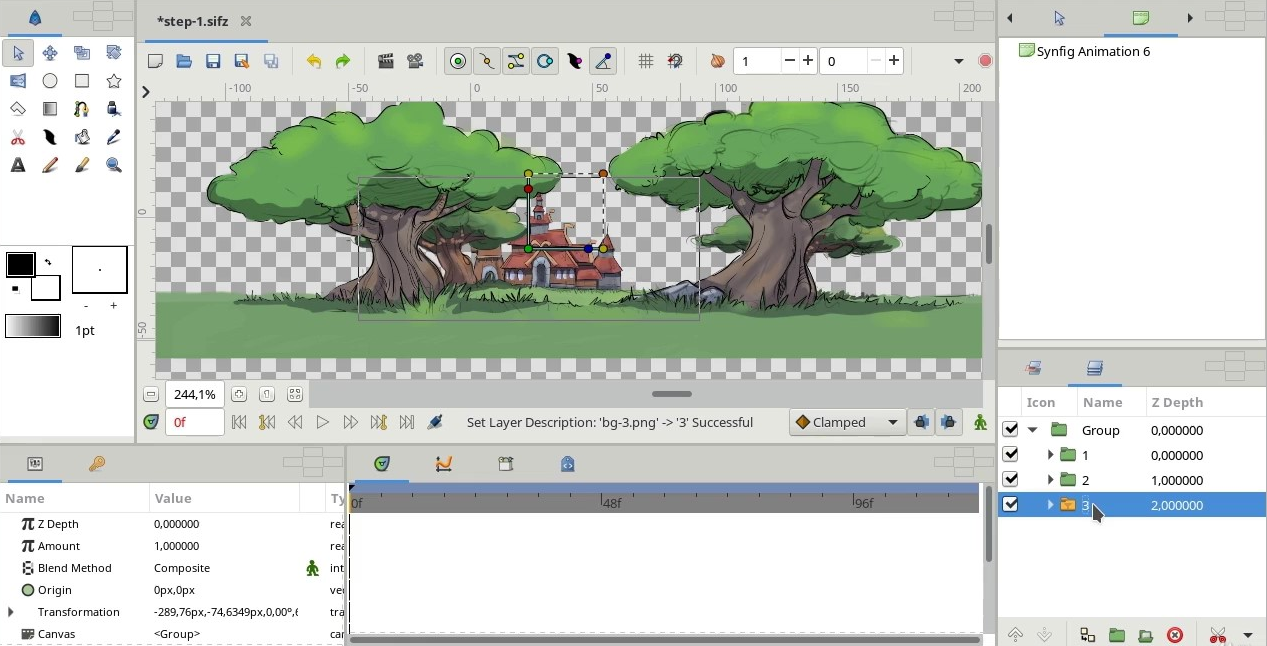
In this lesson you will learn how to create a moving background with impressive parallax effect.
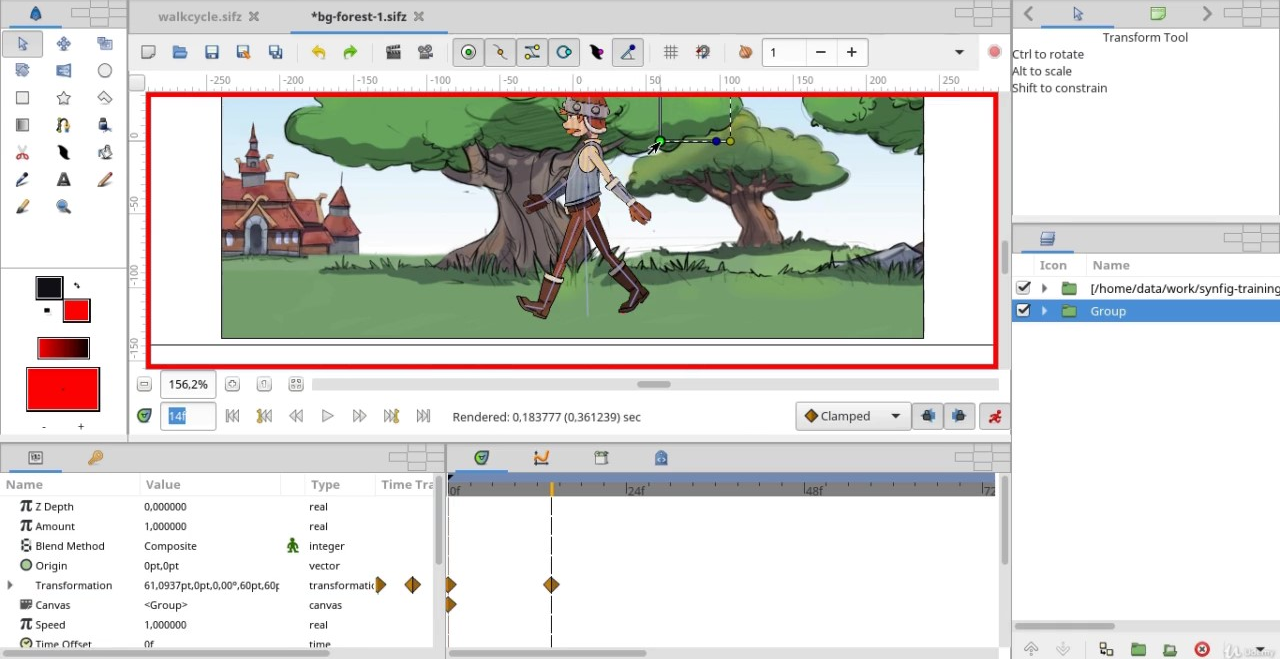
This lesson will show how to synchronize moving background with character walkcycle.
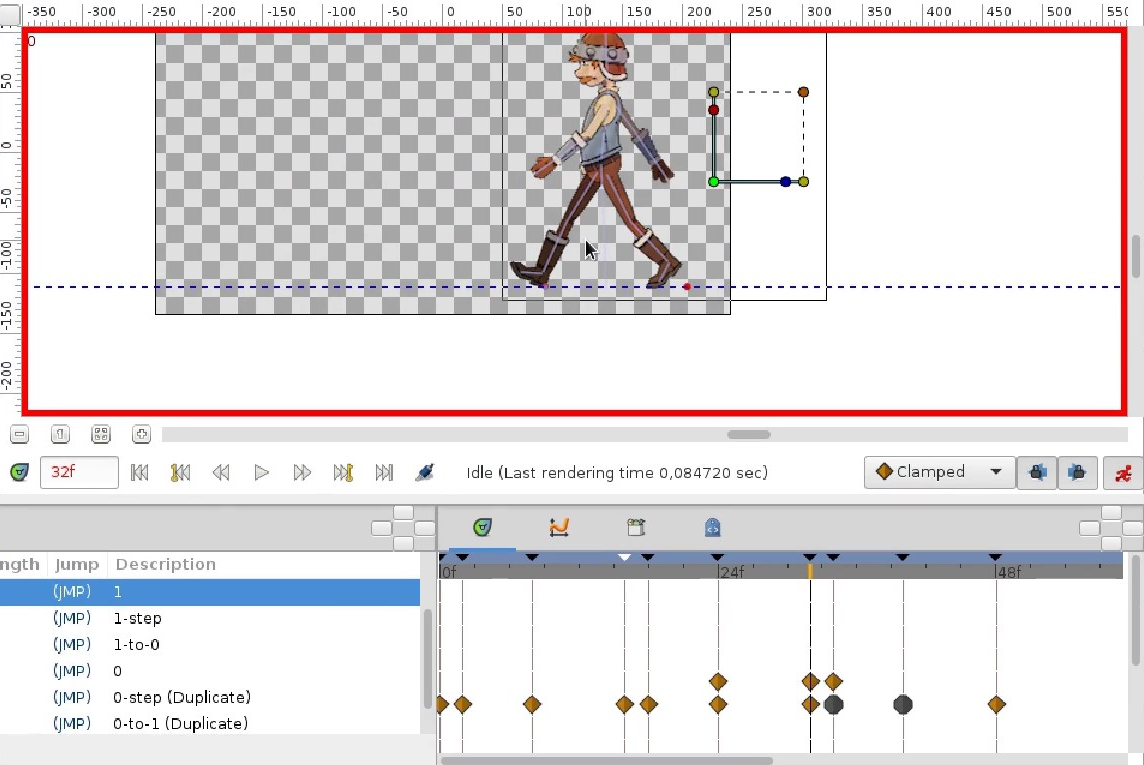
In this lesson we will work with animation of our walking character again. You iwll learn how to organize complete scene in the way where animation of different elements will not interfere with each other.
This lesson explains the concept of Filter Layers. We will see how it works on example of Blur and Time Loop layers.
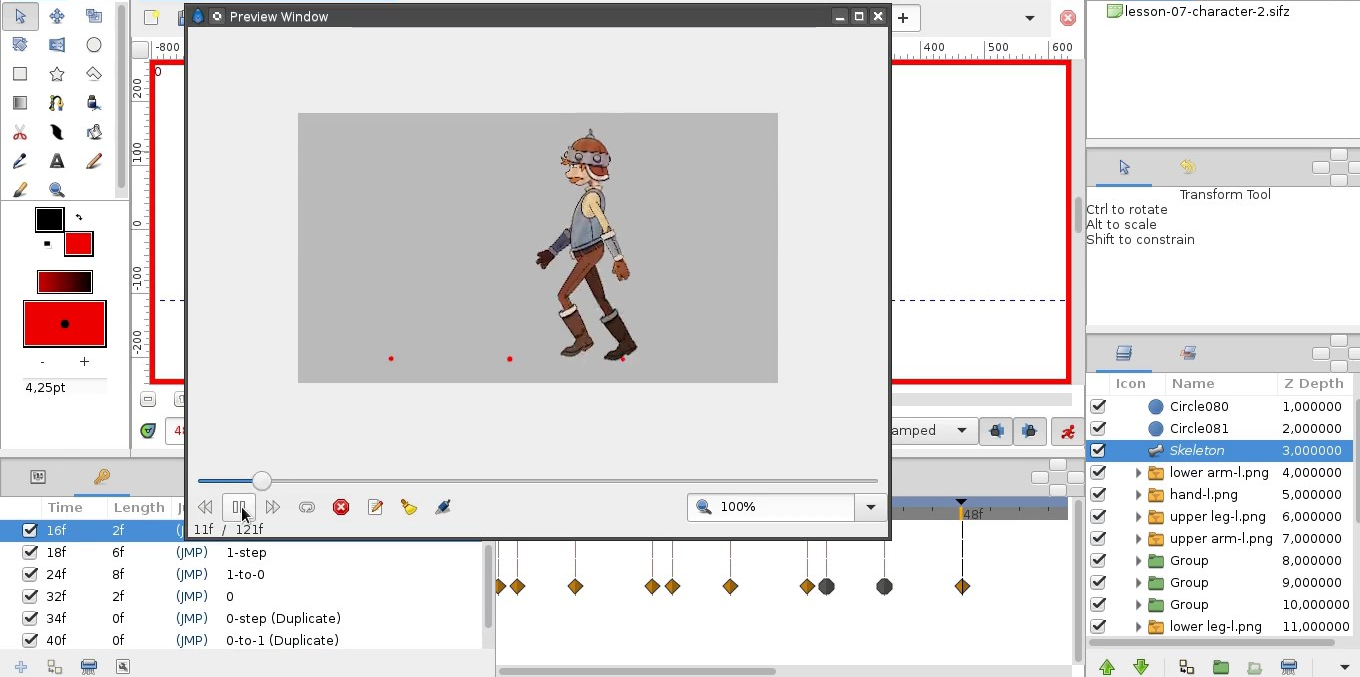
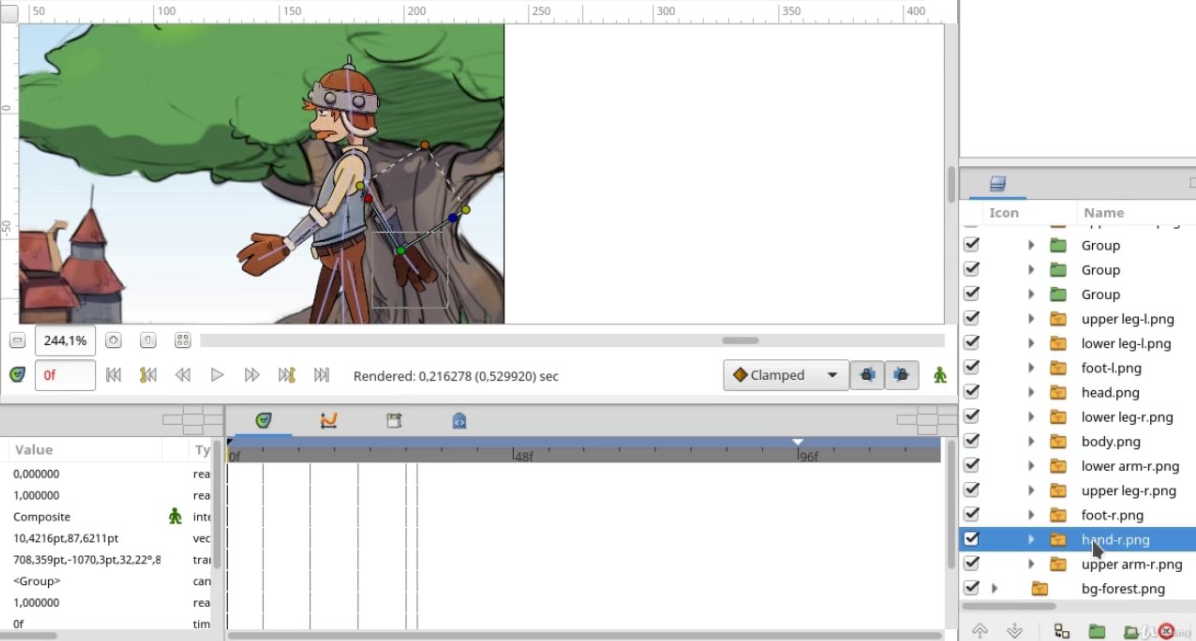
In this lesson you will practice to animate your character using skeleton. We will make our character walk!
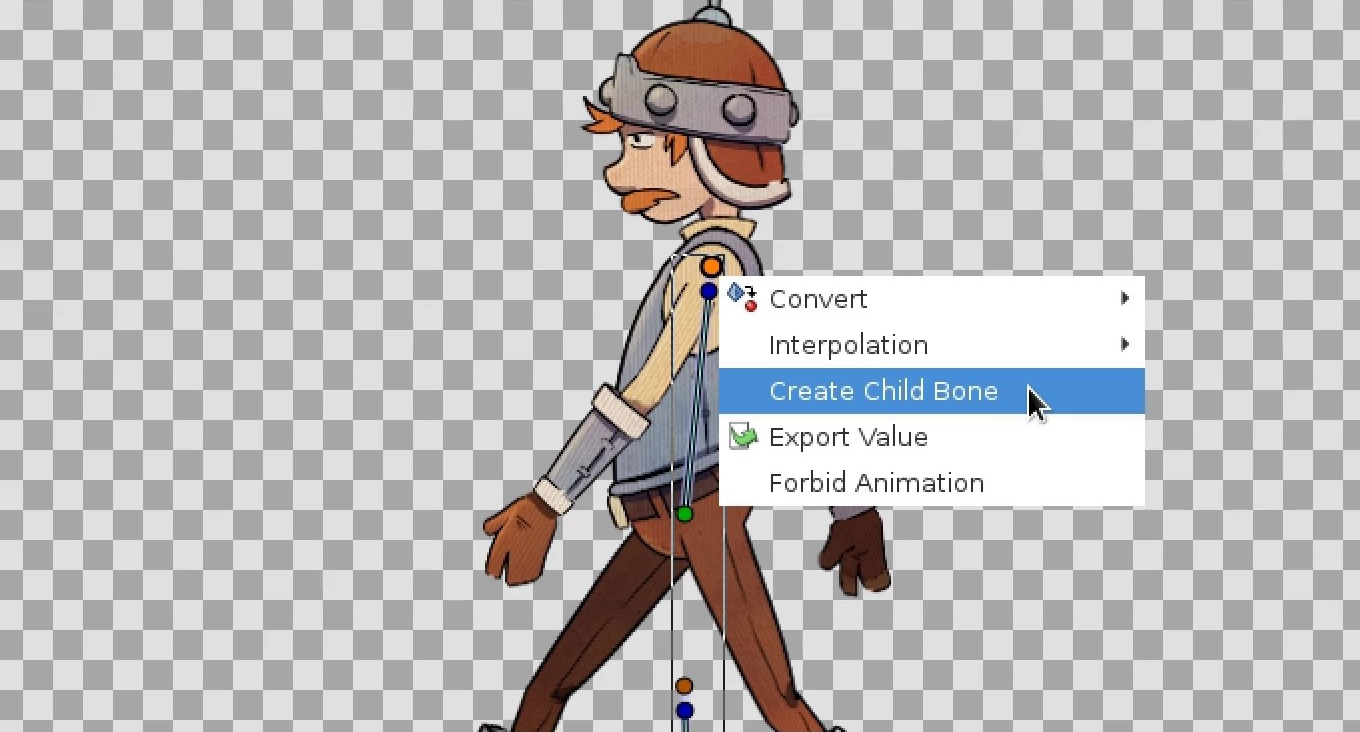
In this lesson you will learn about bones, which will help to easier control character animation. You will construct your first skeleton and attach a sample character to it.
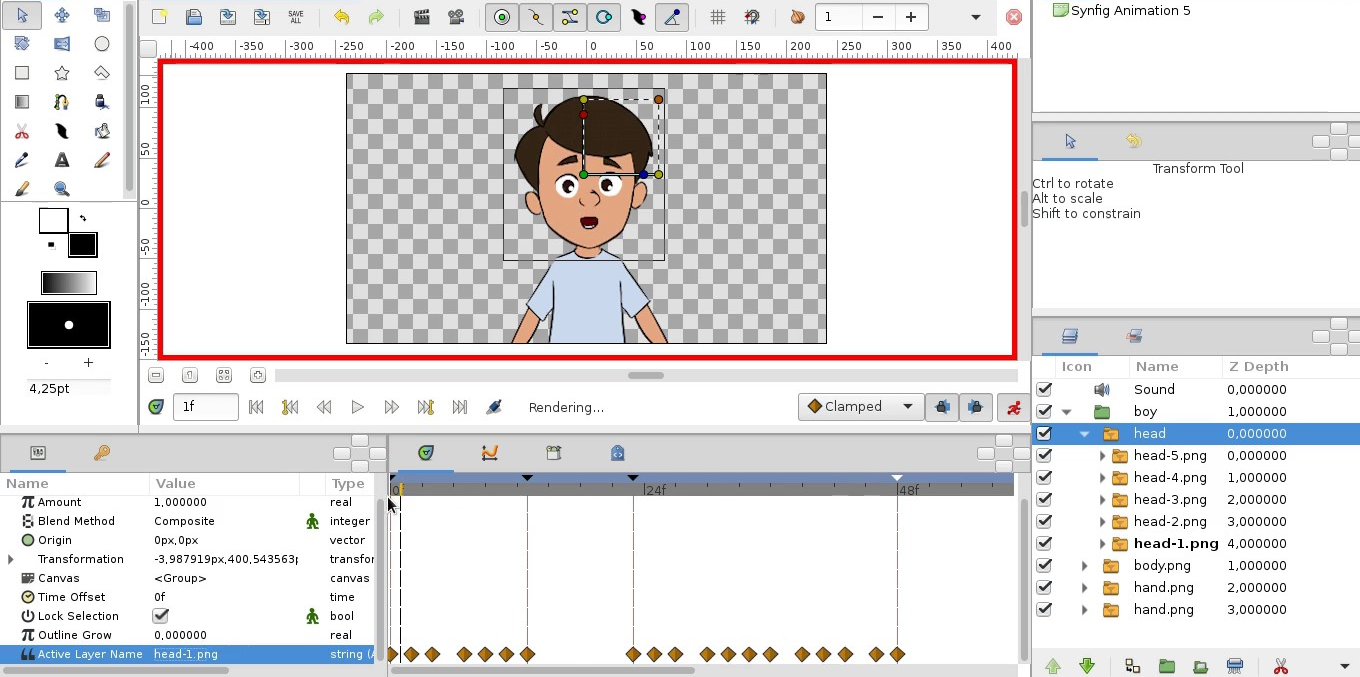
Okay, let’s make our character speak! Here you will learn how to use Switch Group to replace one image with another and create an illusion of talking character.
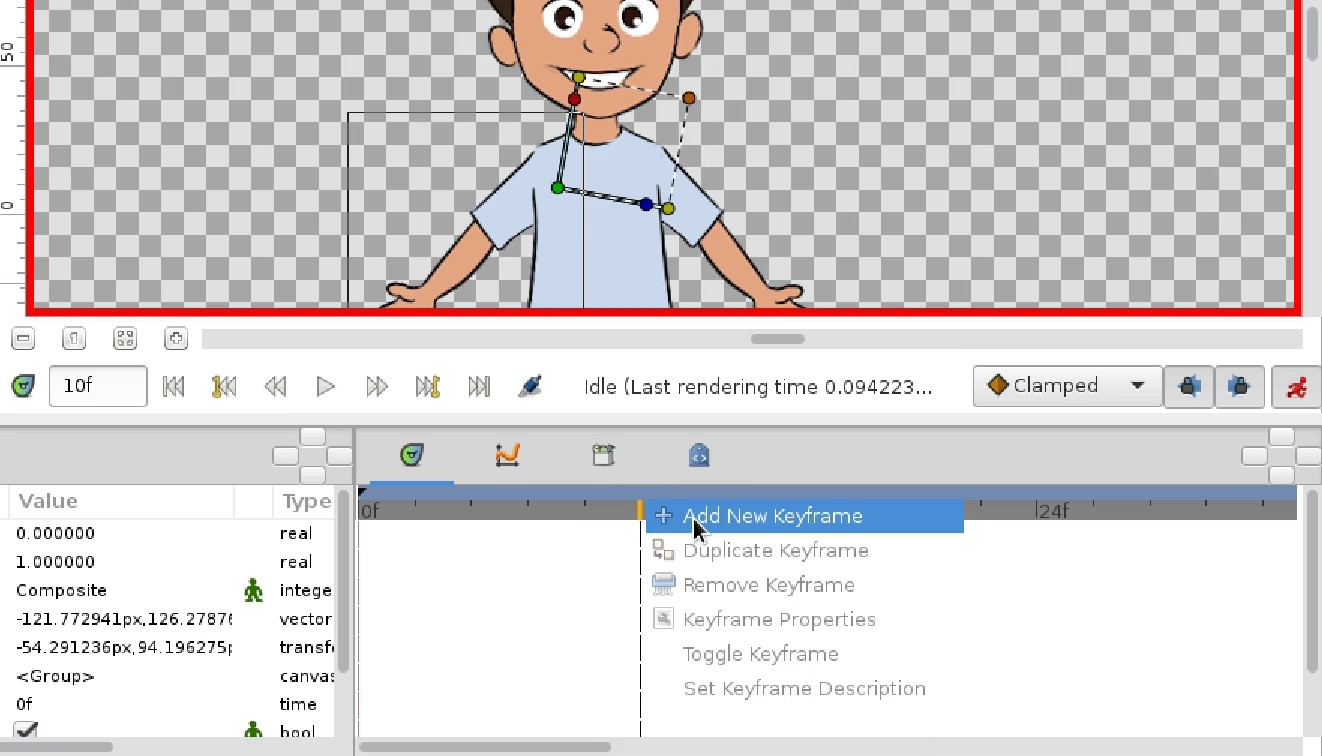
This lesson uncovers a very important concept of Synfig — Keyframes! You will learn how keyframes help you to control animation on higher level.

In this lesson you will learn about Cutout Animation technique and learn how to prepare a simple character for such kind of animation.
Now you are ready to share your animation with friends! Here you will learn how to export your work to different formats — GIF, AVI, PNG sequence.
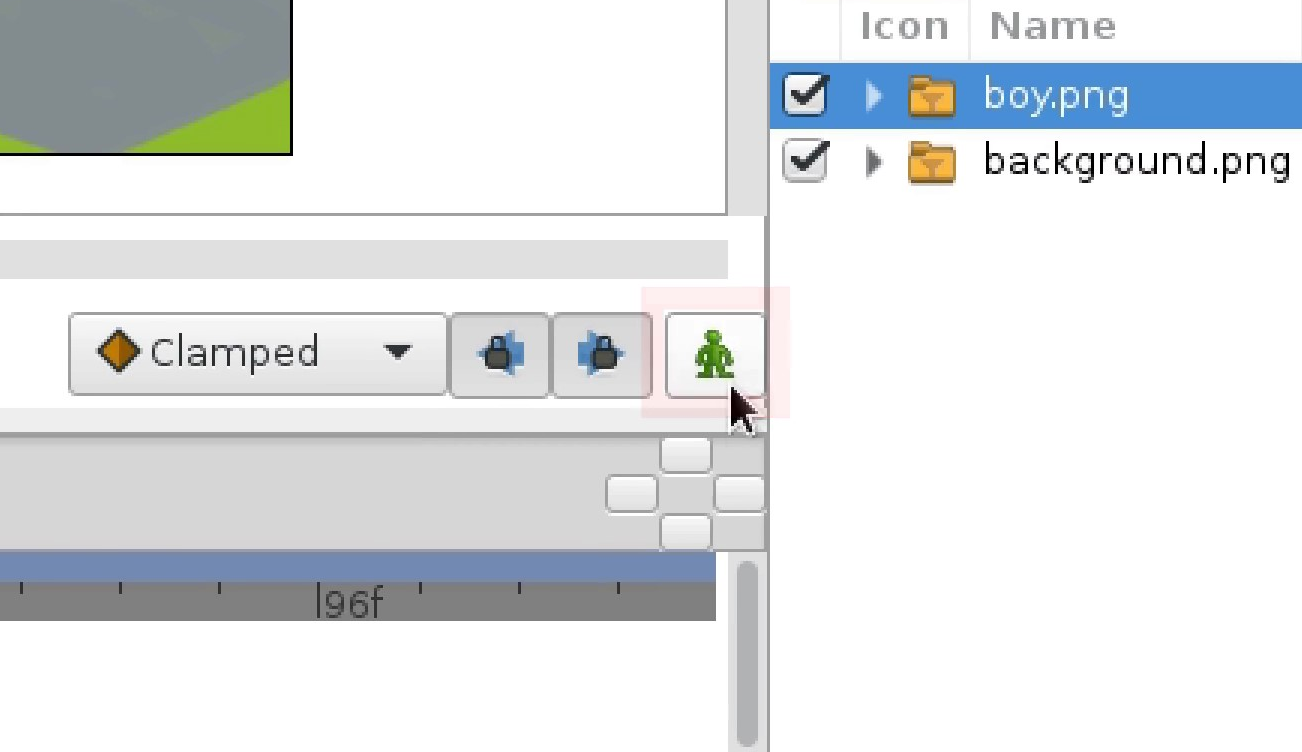
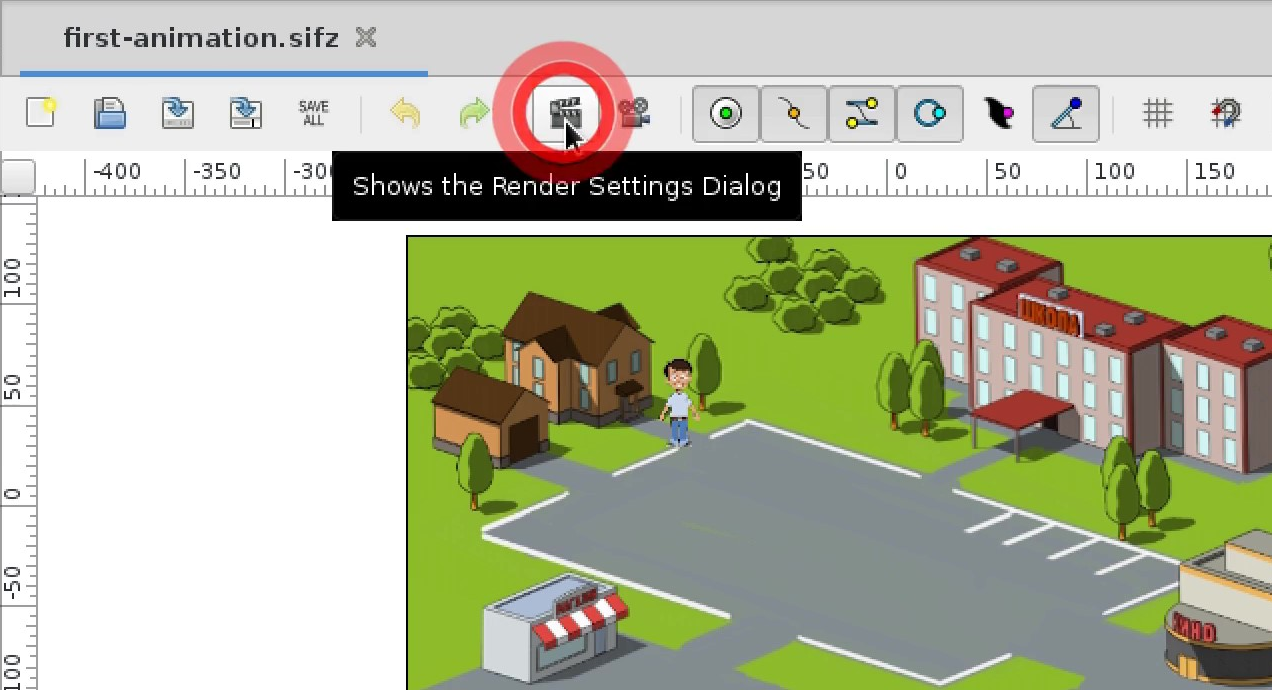
Learn how to import images and create your first simple animation. You will learn how to use Animation Mode and how to control animation with Waypoints.