I am happy to share with you the storyboard template that we use in our production. We use this template for a clean storyboard document which is forwarded to the animators group.
Here are a few notes on how to use the template.
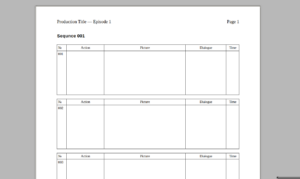
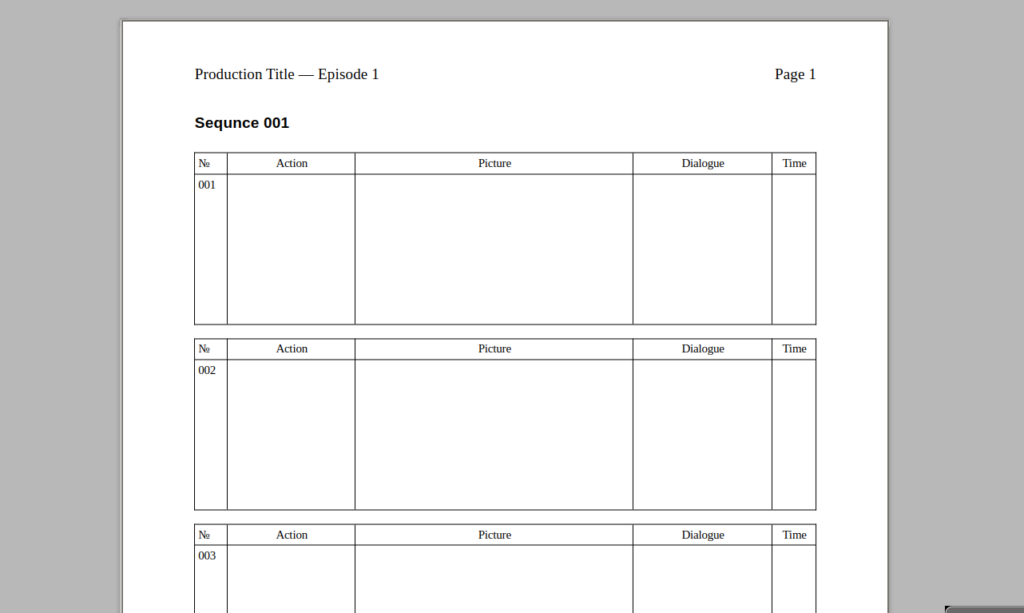
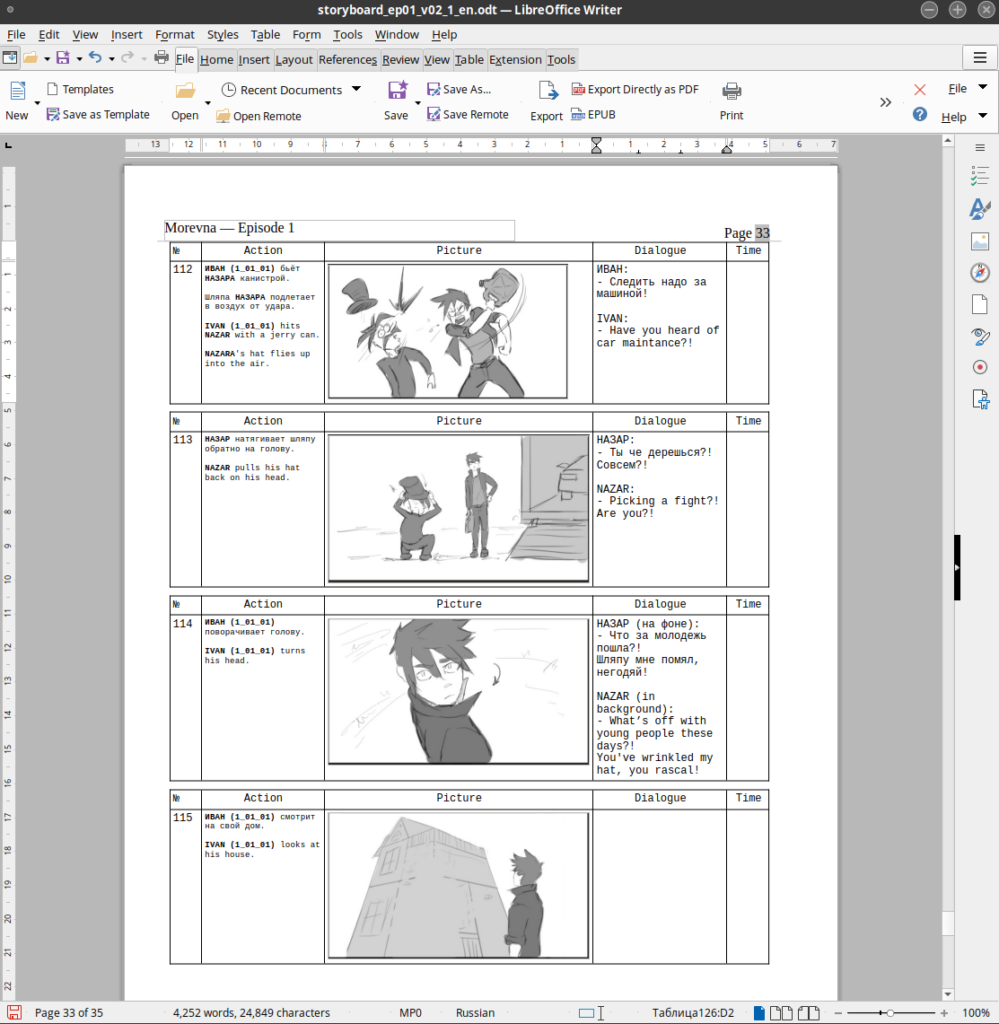
Each frame (shot) of the storyboard is designed as a separate table, divided into several columns. The central column contains the image of the frame. On the left is the shot number and description, on the right are the characters’ lines and the approximate duration of the frame (by the way, we do not always indicate the duration, leaving this until the moment when the storyboard is edited on timeline with sound).
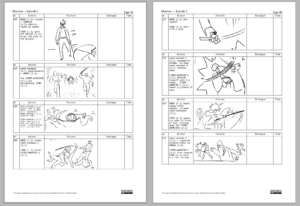
Here’s an example of a completed storyboard sheet:
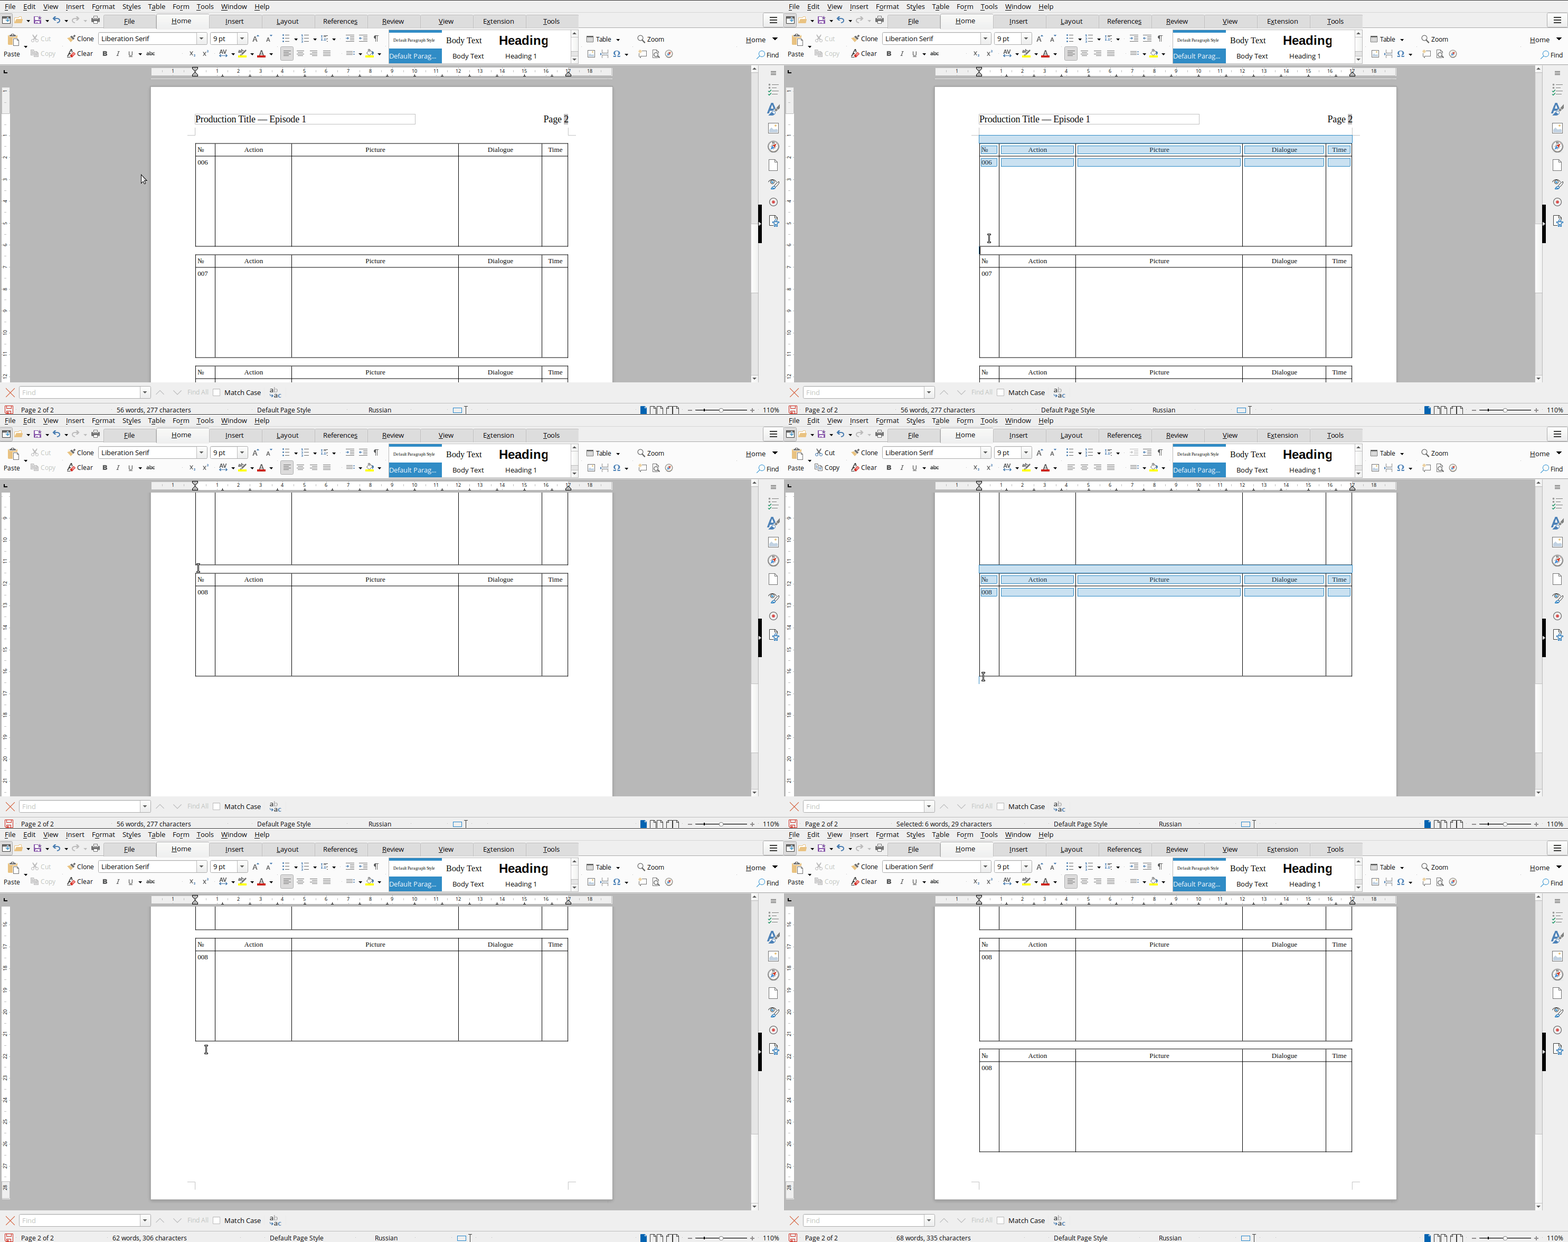
If you wish to add more frames, simply select the frame table and copy it.
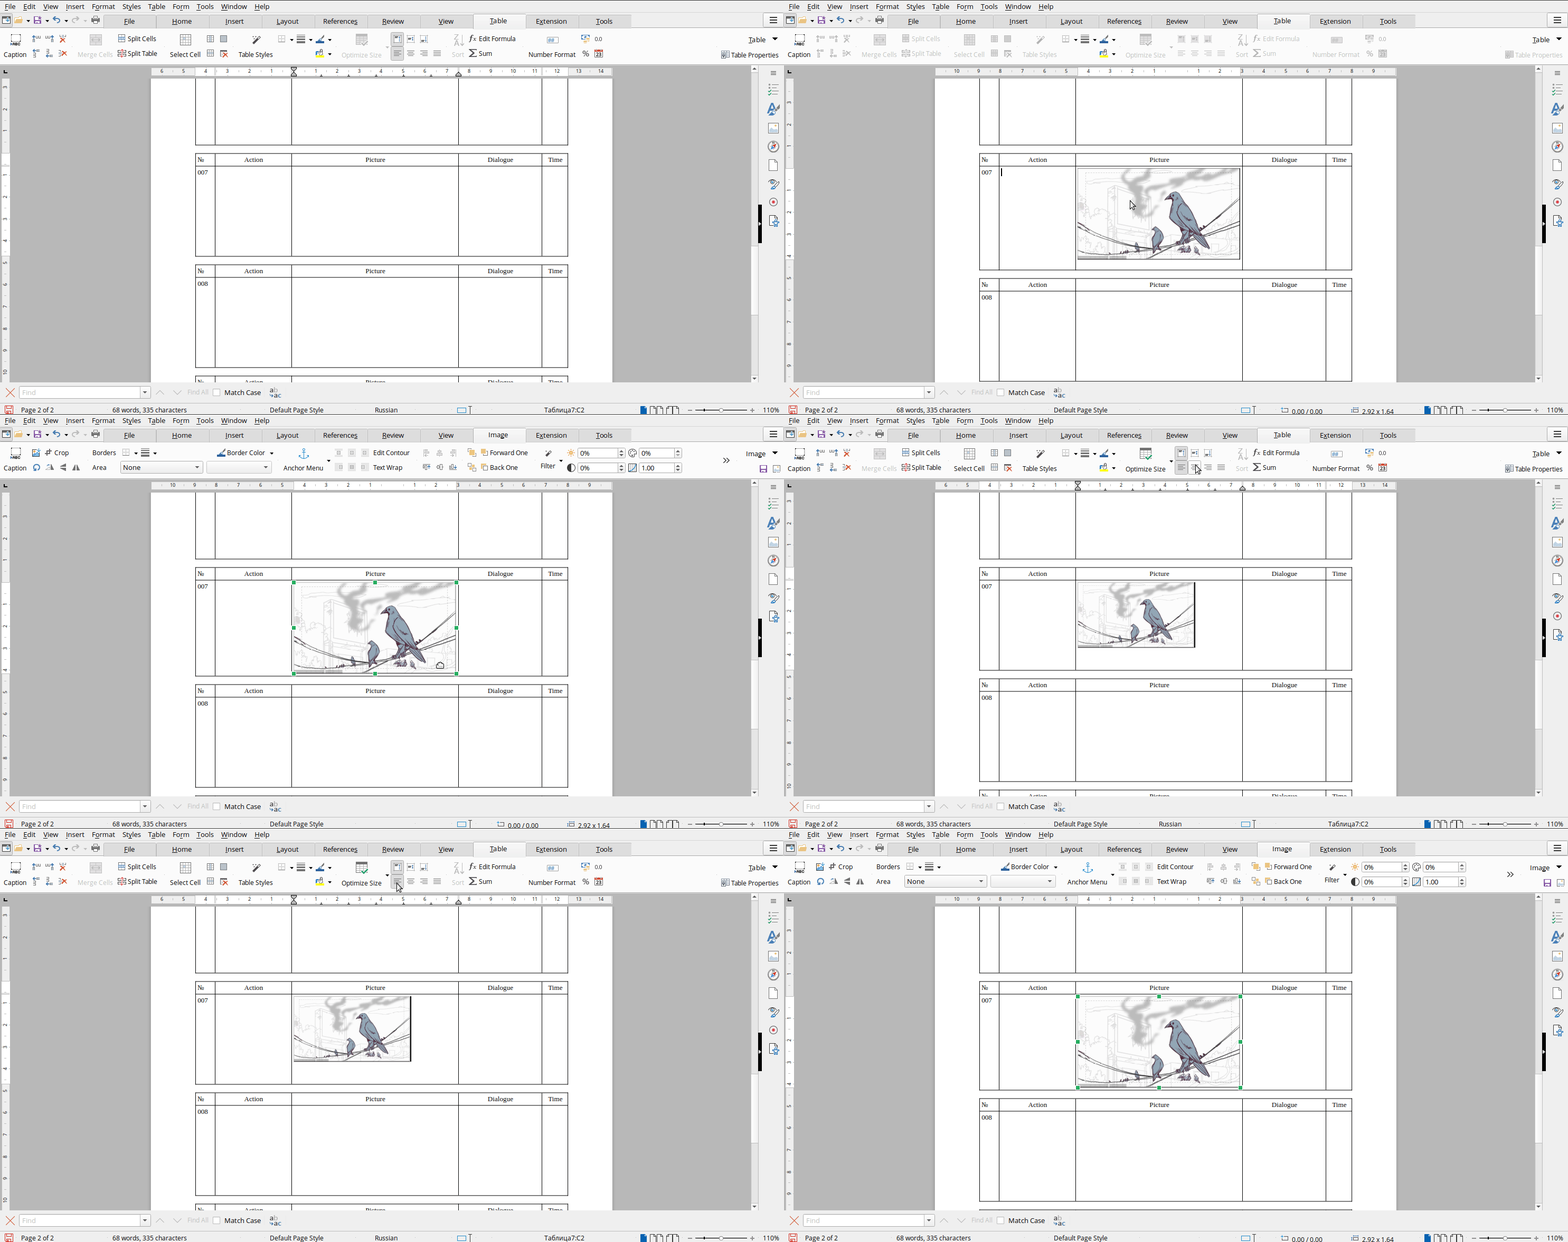
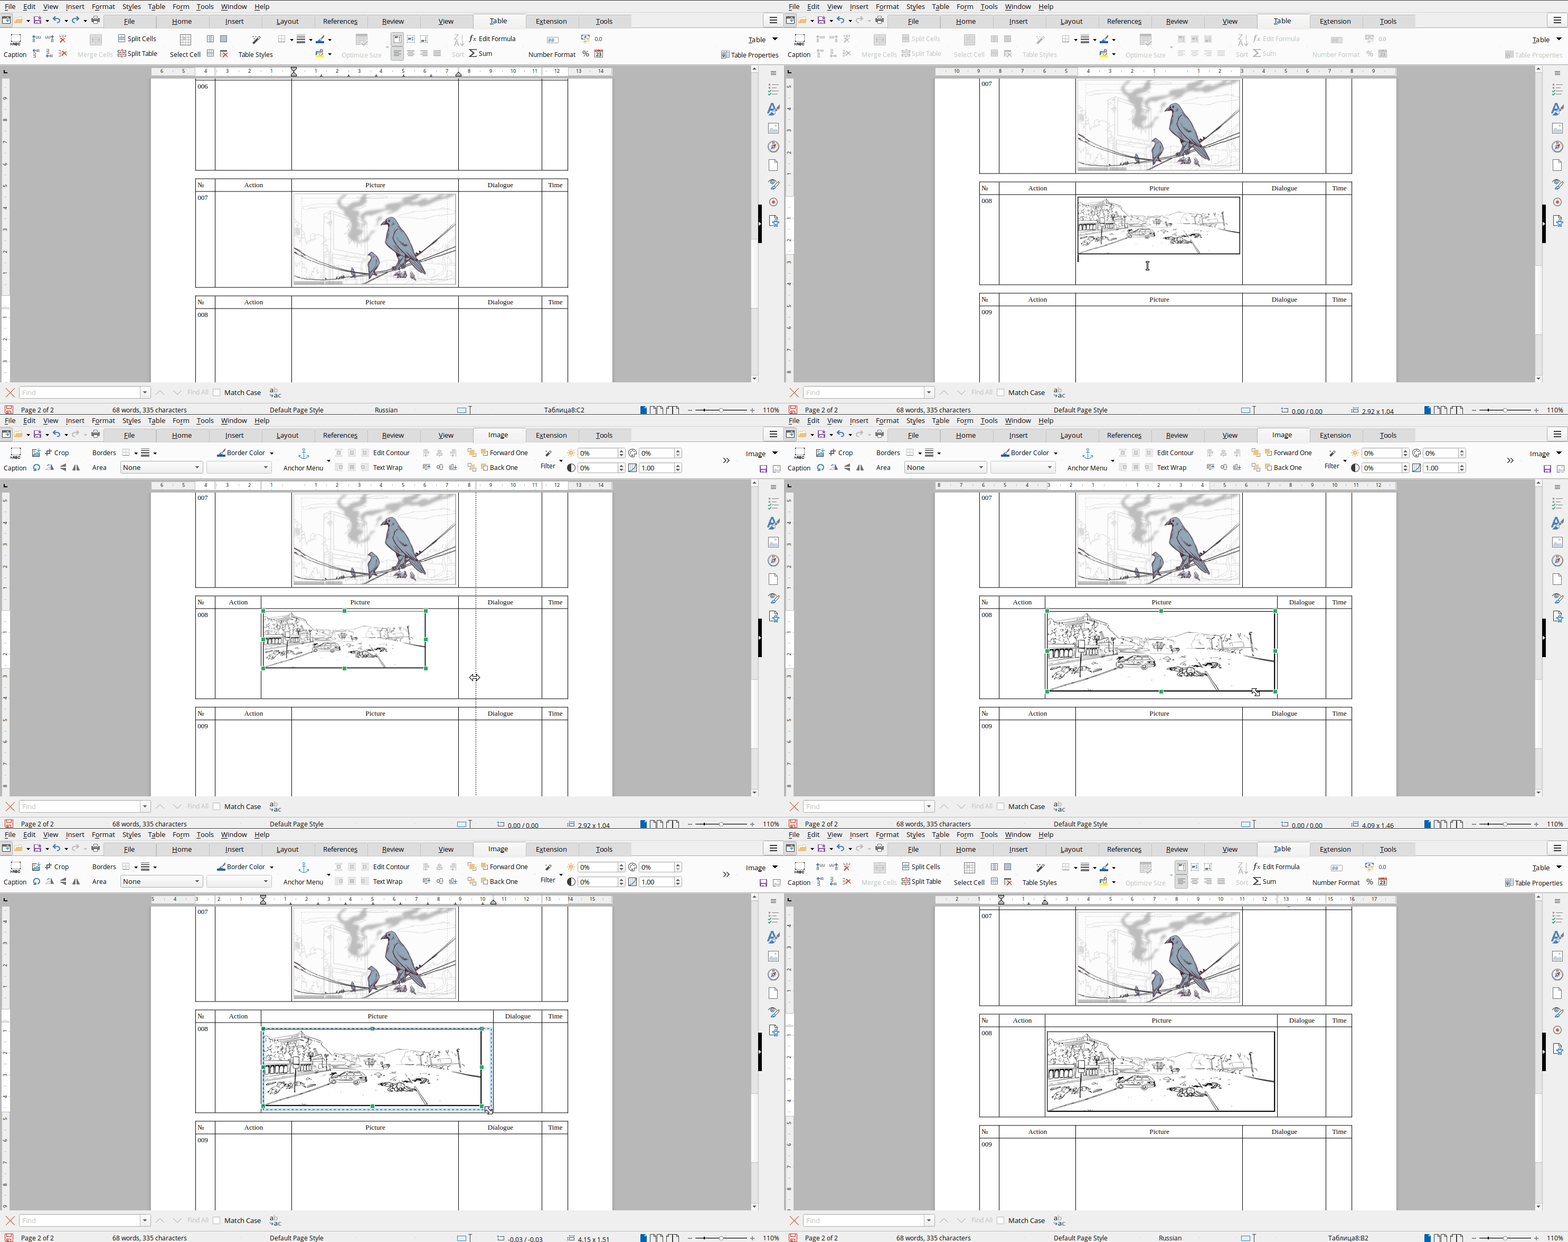
To insert an image, simply drag the file into a table cell. We recommend to set the image placement to “As symbol”. In this case, the images will be well attached to the table cell and will not slide when you rearrange the shots.
After copying a frame table, do not forget to put the shot number. Sometimes the action in the shot is represented by several images. In this case, the shot number is put only for the first frame, and for the rest we leave it empty.
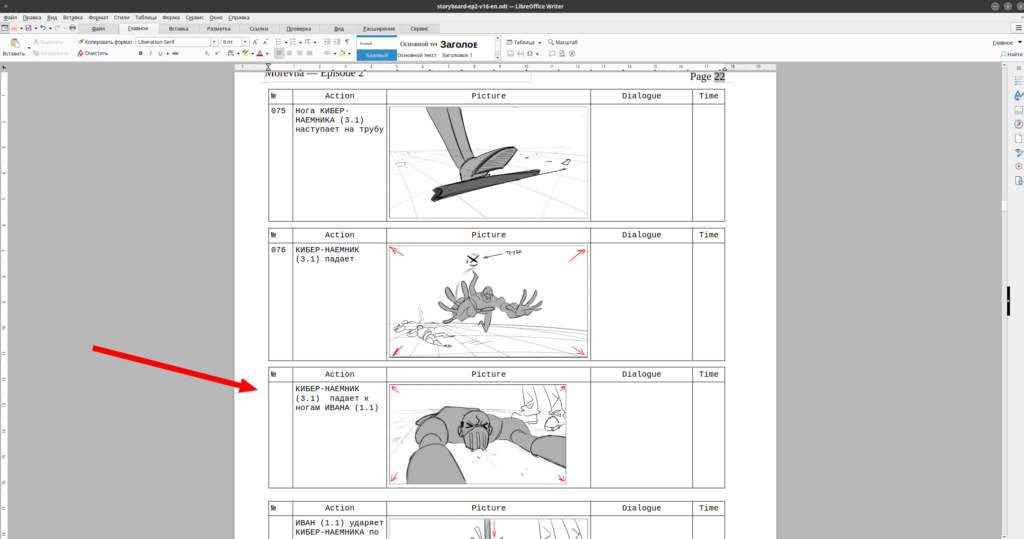
Since each frame is located in its own independent table, you can change the width of the column with the image – this allows you to conveniently arrange frames with a non-standard width (for example, if they depict a horizontal panorama).
Download an example of a finished storyboard –
Morevna Episode 2 Storyboard.
